
Recent Tips and Articles by Denton Lawn Care
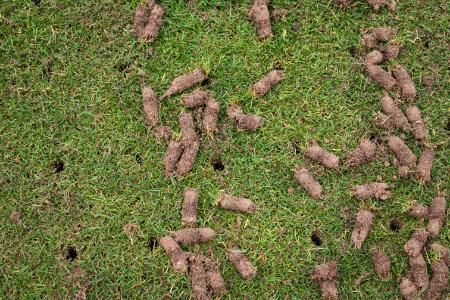
How Core Aeration Helps Grass Grow Thicker and Healthier
If your lawn looks tired or thin after our long Central Texas summers, you're not alone. Professional core aeration in Leander, TX opens the soil, helps roots breathe, and gives grass what it needs to grow denser and stronger. Homeowners across Crystal Falls, Bryson, Travisso, and Mason […]
Read Article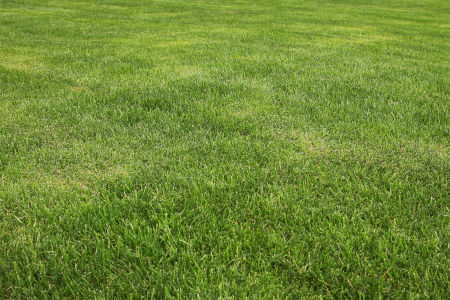
What Top Dressing Does for Soil Health and Lawn Growth
Healthy lawns in Leander don't just happen. They're built from the soil up, and that's where top dressing shines. When a professional applies a thin layer of high-quality material over established turf, it jump-starts soil life, helps roots breathe, and supports thicker, greener growth that handles […]
Read Article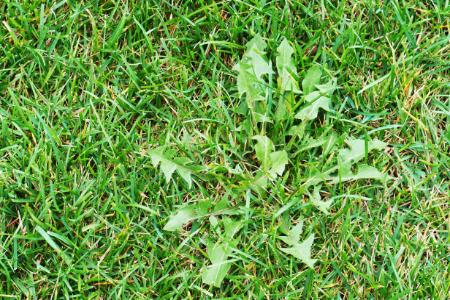
Why Professional Weed Control Works Better Than Store-Bought Products
In Leander, TX, the mix of thin Hill Country soils, hot summers, and surprise rain bursts creates perfect openings for weeds. If you've tried bottles and bags from the store, you've probably seen short-term results that don't last. That's because professional weed control isn't just about […]
Read Article